The Problem
Suppose you have a lot of Steam games, but not a lot of local disk space. Maybe you're using a laptop for some light gaming and don't want to sacrifice several hundred gigabytes of your local storage. Maybe you have a couple computers and don't want to reinstall several games on each if you'll be playing at home.
At the same time, you have a home NAS (network attached storage) device of some kind, with plenty of space. Can you use your NAS to store Steam games? Yes!
The Solution
You can choose network location for Steam downloads if it's been mapped as a network drive. With a couple more steps, everything will work.
- Map your NAS as a network drive
- Add the mapped drive as a download location in Steam
- Install your games normally
- Map your NAS as a network drive again as administrator
- Play your games
Map your NAS as a network drive
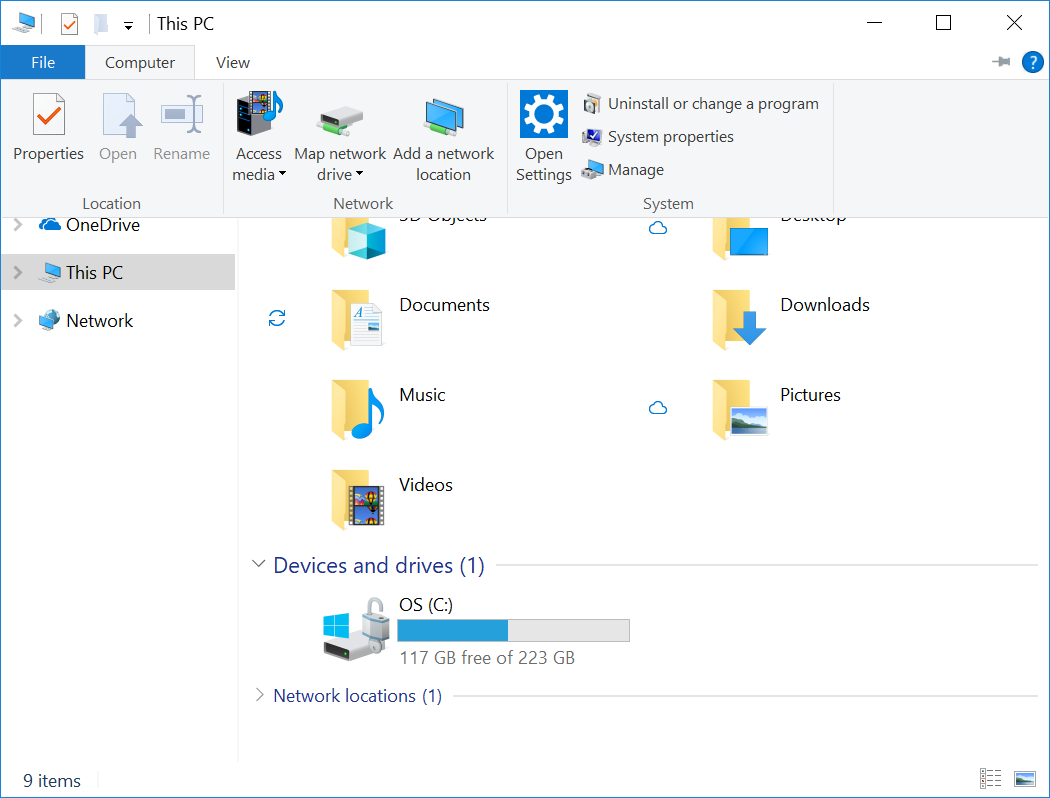
You need the network location to have a local disk label (C:, D:, Y:, Z:). You
can do this from the File Explorer -> This PC -> Computer ->
Map network drive.

Follow the prompts, and select "Reconnect on sign in".
Add the mapped drive as a download location in Steam
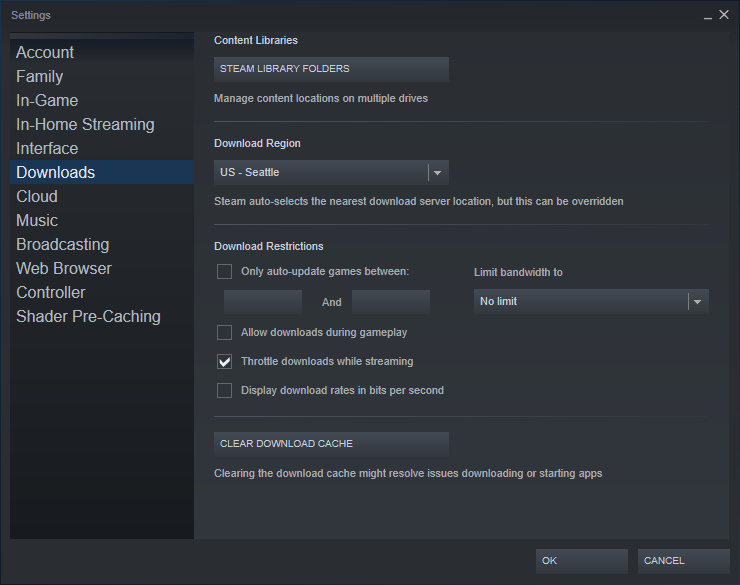
From the main menu, select Steam -> Settings -> Downloads.

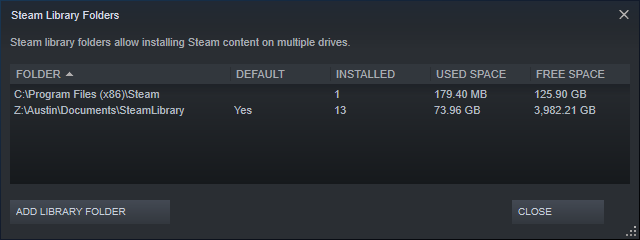
From here, select Steam Library Folders.

From this menu, select Add Library Folder. The top drop down will let you
select other drive labels. Add the label that you mapped your NAS to, and make
it the default download location by right clicking it in the folders list.
Install your games normally
The easy part! If you don't have a game installed, select Install from the
Library view in Steam. If the game is already installed on the local disk and
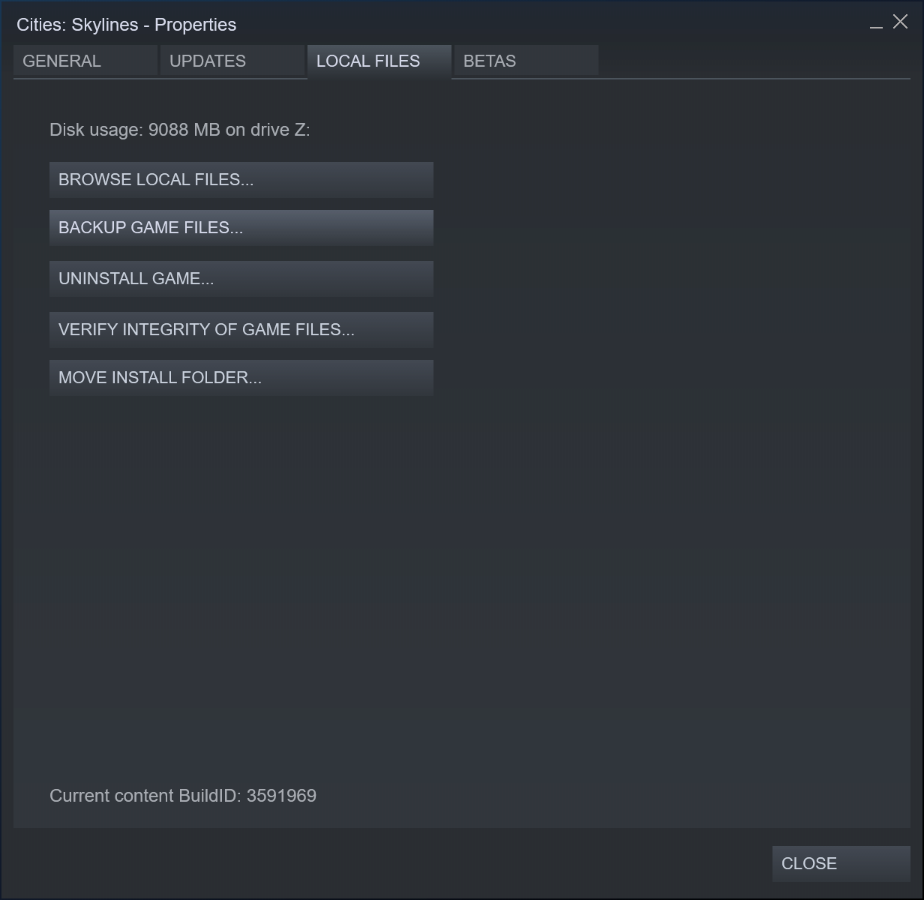
you'd like to move it to the NAS, right click on the game in the list in the
Library view. From here, Local Files -> Move Install Folder.

Steam will move the game content to the new location and reverify the installation.
Map your NAS as a network drive again as administrator
If you've tried to start a newly installed game on your NAS before this point, it may have failed. Some games requires Administrator priviledges to install additional game components like DirectX. Internally, network drives are mapped on a per user basis. This means that when you elevate Steam to administrator to install something else on the system, it can no longer see the game files.
This typically looks like the game failing to start, without any errors. To fix
this, we need to also map the network drive as administrator. We can do this
with an Administrator Powershell. Hit the Windows key, type Powershell,
right click Run as Administrator. You'll only have to do this for the first
time a game runs, and when it requires additional components.
The command to run has this structure:
net use <drive label> \\<hostname>\<folder> /persistent:yes
Where the drive label you choose is the same as what you chose earlier in the
file explorer.
For example:
net use Z: \\home.anardil.net\share /persistent:yes
If this succeeds, you should be able to access the drive label you used from this Administrator Powershell session.
PS C:\Windows\system32> cd Z:
PS Z:\>
Play your games
With that, you're ready to play your games!
Additionally, if you have other computers with access to the NAS with Steam installed, you can add the same location as a library there, and all the games will show up as installed too - no download required.