Introduction
Like videos? If you have a raspberry pi with a camera, you can easily create a fully automated timelapse. Let's walk through some setup and scripts that make this possible.
If you don't have a camera, you can pick up a 5 megapixel one online for around $10. There are 8 megapixel cameras available too, around $25. The 5MP camera gets you 2592x1944 static images, and 1080p30 video (or higher framerates with lower resolution).
This post is going to assume that other resources will be used to configure your raspberry pi, the camera, networking, and storage device.
Here's an example of the result!
Taking Pictures
Once installed and enabled, you can use the raspistill utility to take pictures. The
important options for our use case are -q for quality and -o to control the output
destination. Since we're going to be taking a lot of pictures, let's take a closer look
at how the JPG quality option affects image size and ... image quality!
pi@pine /m/z/tmp> raspistill -q 100 -o 100-quality.jpg
pi@pine /m/z/tmp> raspistill -q 10  -o 010-quality.jpg
pi@pine /m/z/tmp> raspistill -q 5   -o 005-quality.jpg
pi@pine /m/z/tmp> raspistill -q 1   -o 001-quality.jpg
With those commands, we have a range of qualities to compare. Let's compare sizes.
pi@pine /m/z/tmp> du -h *
33K     001-quality.jpg
133K    005-quality.jpg
345K    010-quality.jpg
2.6M    100-quality.jpg
That's quite the difference! Let's do some quick math to see about how much storage we'll need for a day's worth of pictures. In reality, image size is affected greatly by the content: a picture of total darkness will be much smaller than a picture of a crowd of people, but this will give a decent back of the napkin estimate.
pi@pine /m/z/tmp> python3 -q
>>> minutes_in_a_day = 60 * 24
>>> quality_sizes = [33, 133, 345, 2.6 * 1024]
>>>
>>> # now to see kilobytes are required for a days worth of pictures, 1 picture per minute
>>> [size * minutes_in_a_day for size in quality_sizes]
[47520, 191520, 496800, 3833856.0]
>>>
>>> # let's convert to megabytes
>>> [s * minutes_in_a_day / 1024 for s in quality_sizes]
[46.40625, 187.03125, 485.15625, 3744.0]
Wow! The difference is even more obvious now. At maximum quality, we'd produce ~3.7 gigabytes of data per day. At worst quality, we'd have ~46.4 megabytes. For a year of data, the difference is 1,350 GB (best) vs 16 GB (worst). This will also affect the size of videos we create from the images later on too. Unless you have a storage array laying around, it's pretty clear some kind of compromise needs to be made.
If you don't have a monitor connected to your raspberry pi, you can use Python to start an HTTP server to view the images.
pi@pine /m/z/tmp> ls
001-quality.jpg  005-quality.jpg  010-quality.jpg  100-quality.jpg

pi@pine /m/z/tmp> python3 -m http.server
Serving HTTP on 0.0.0.0 port 8000 ...
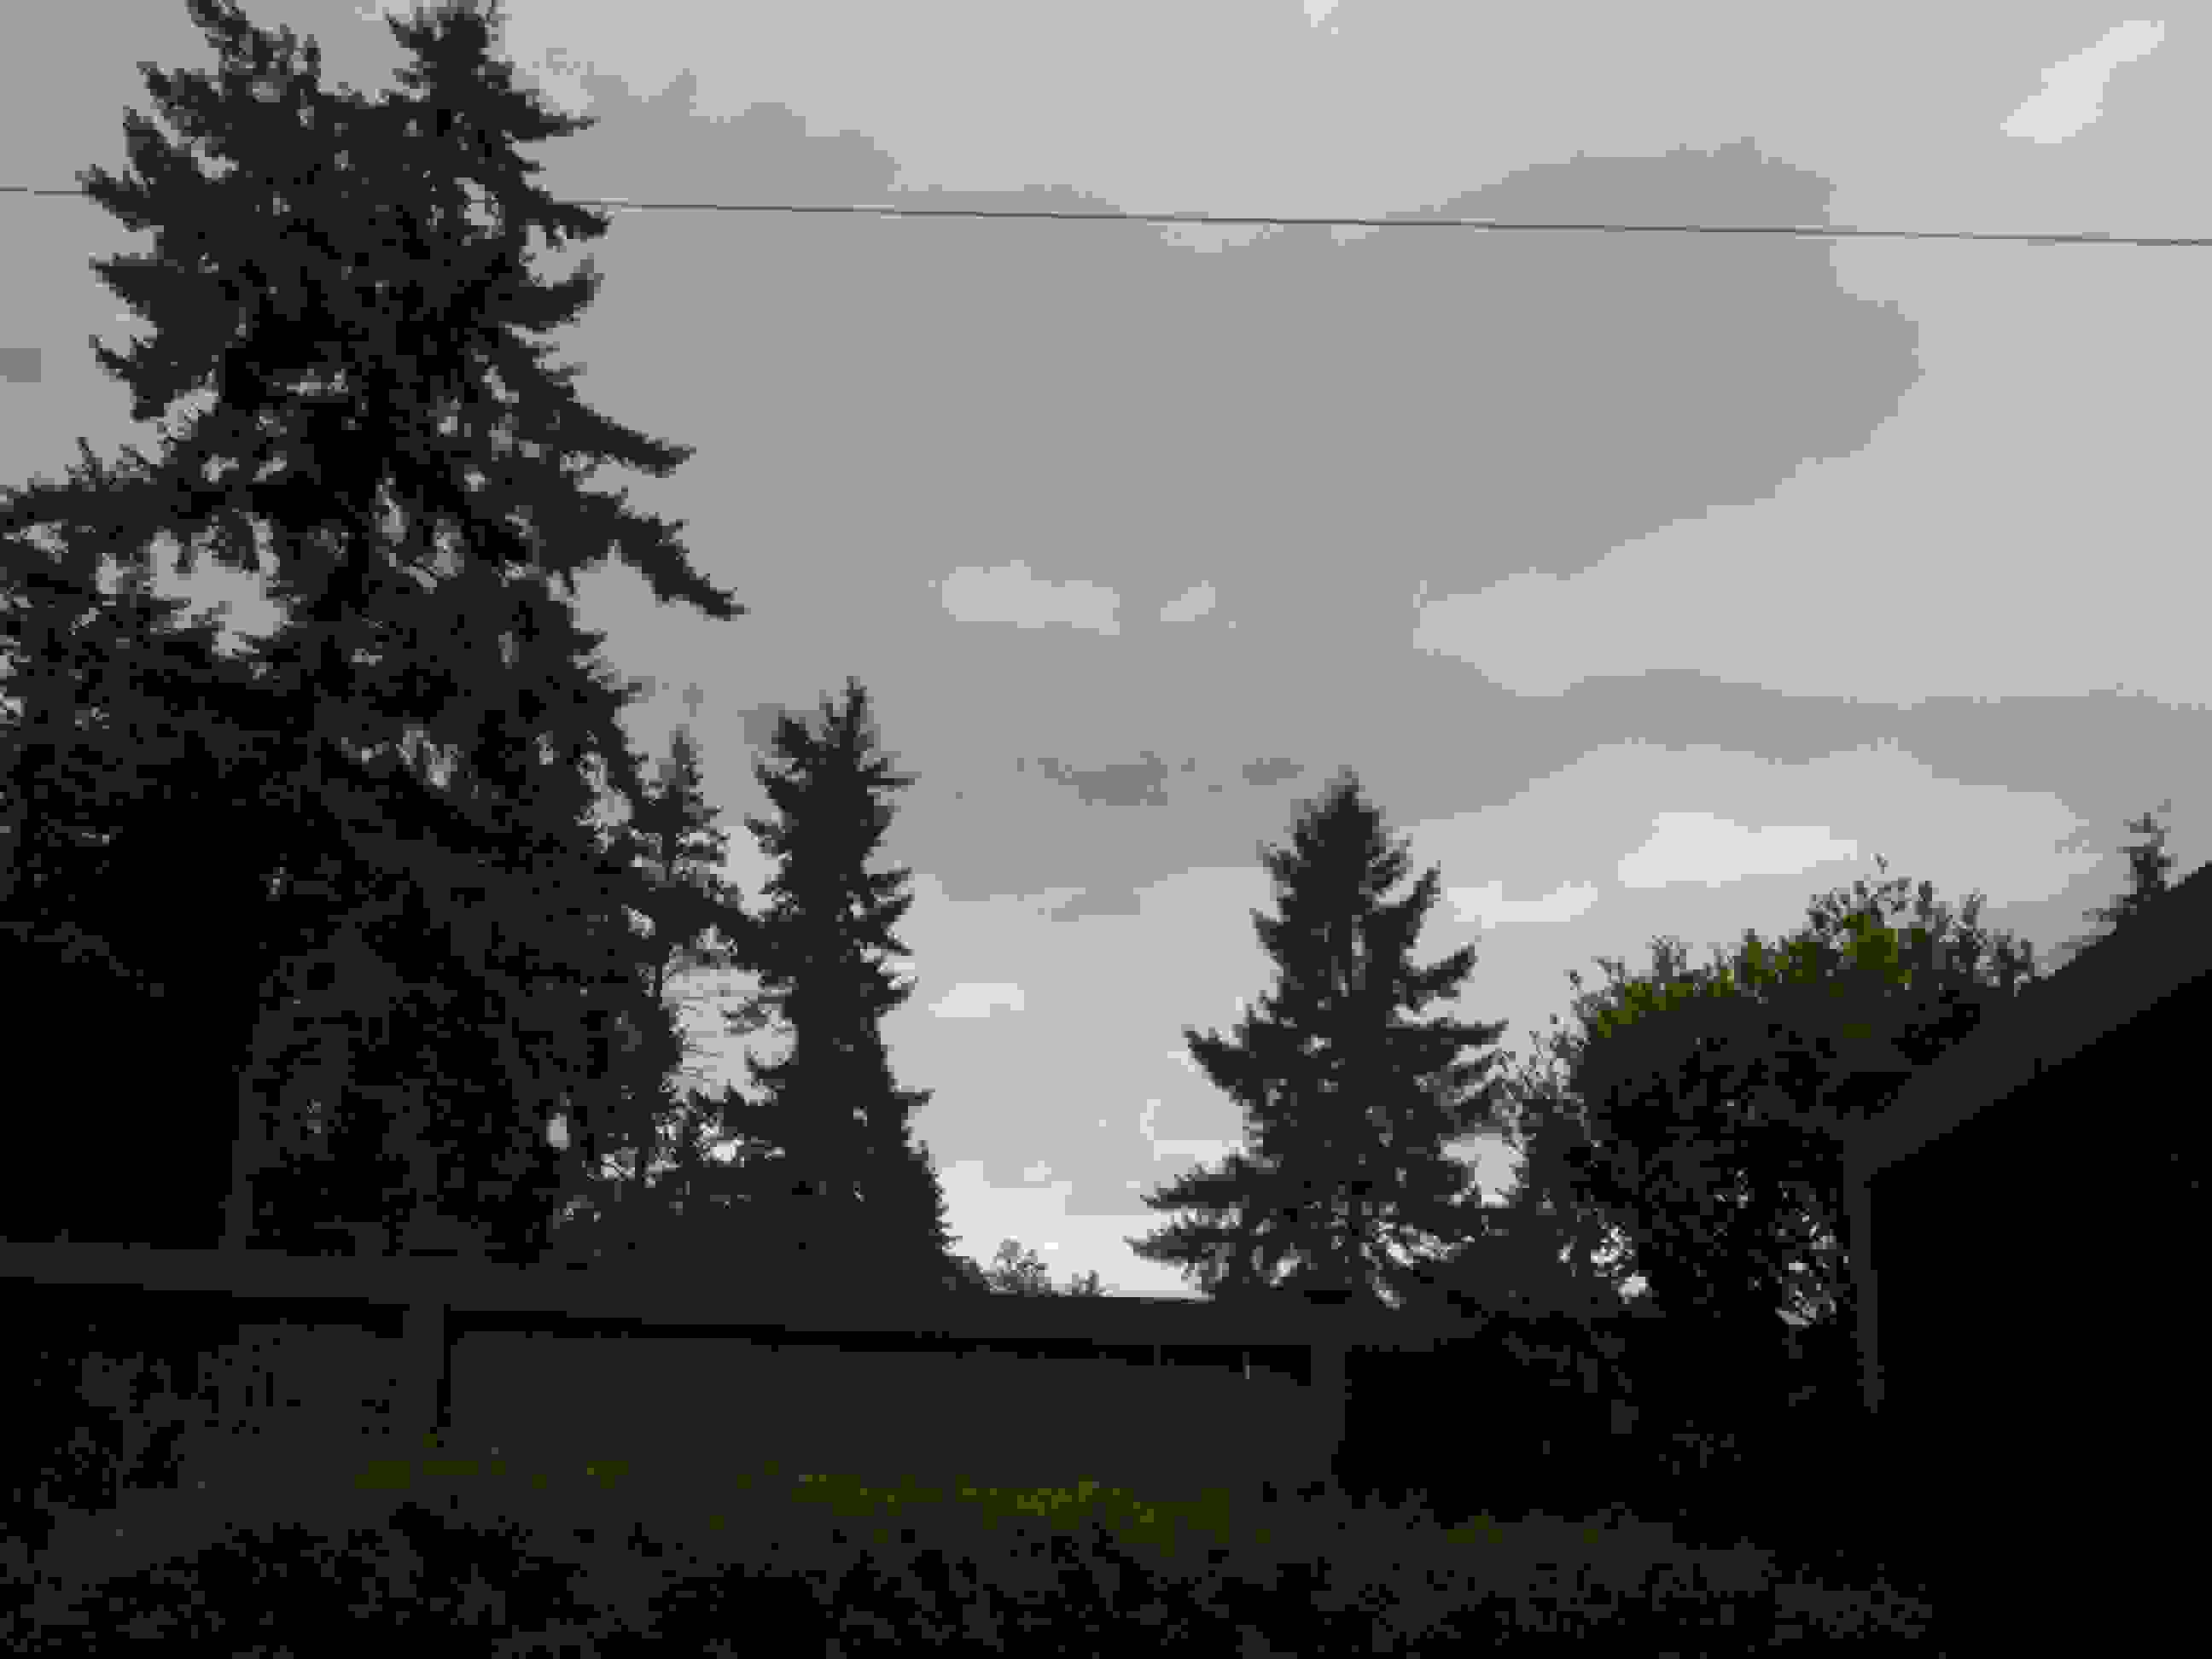
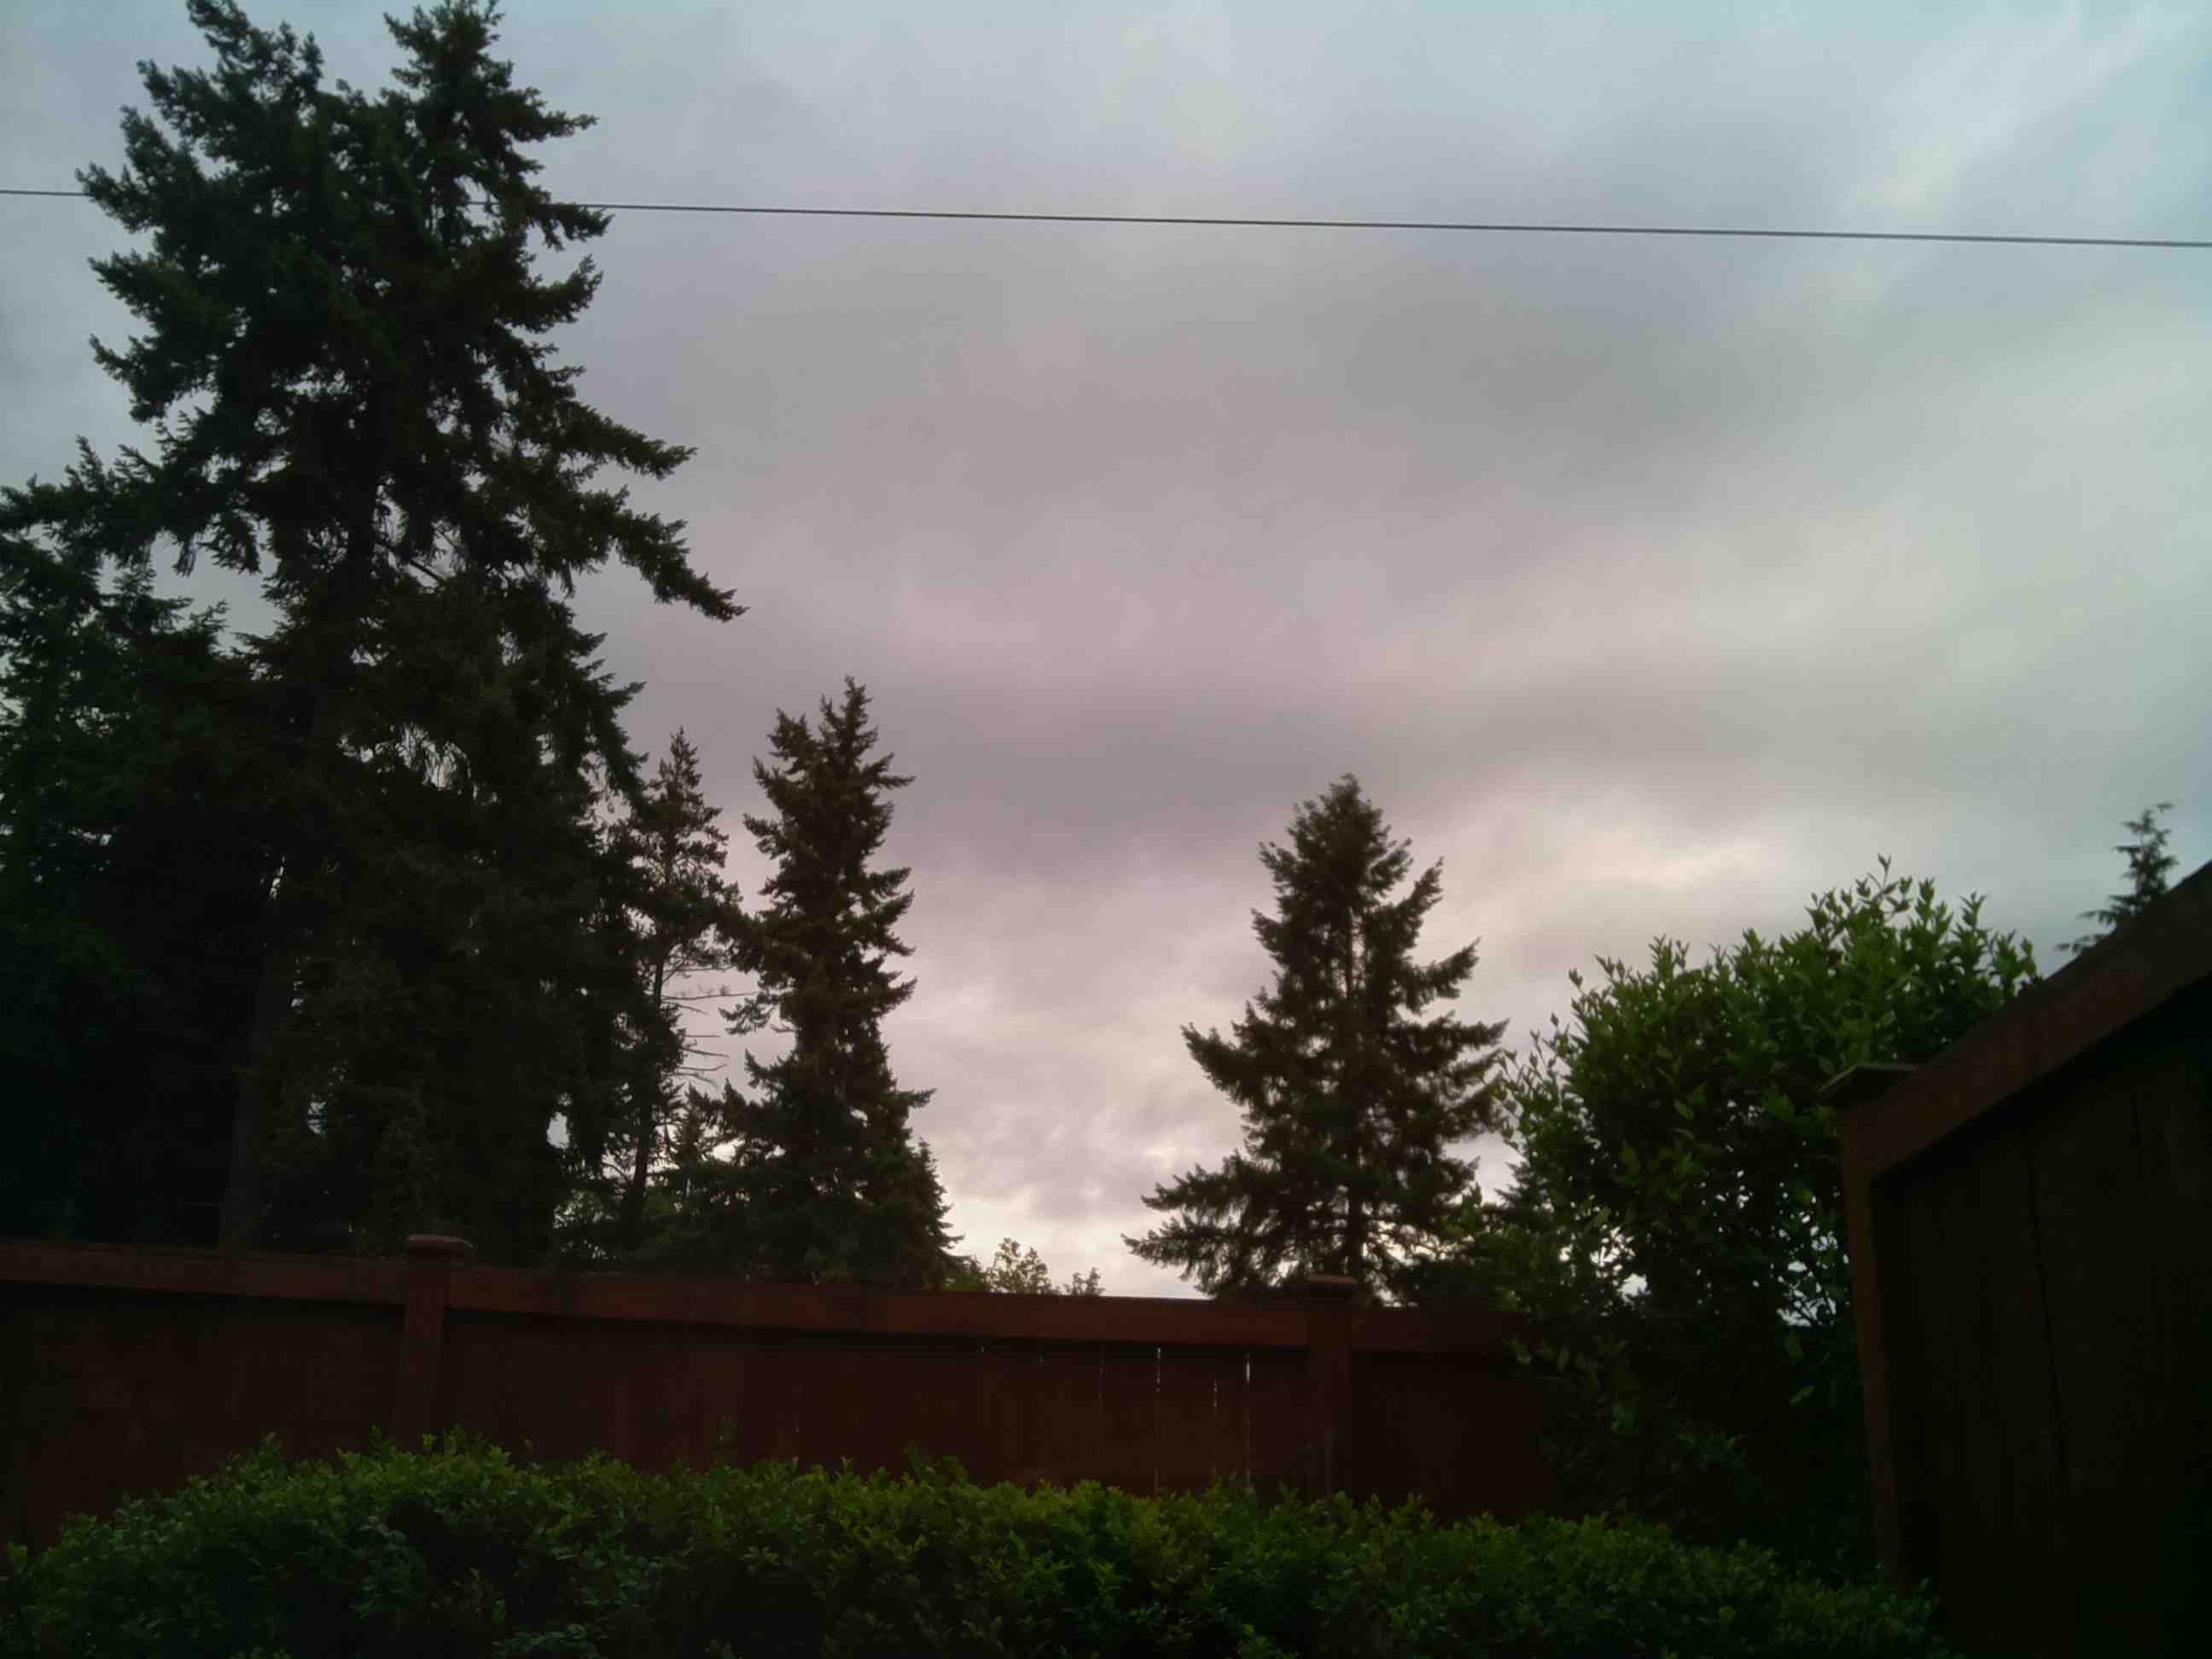
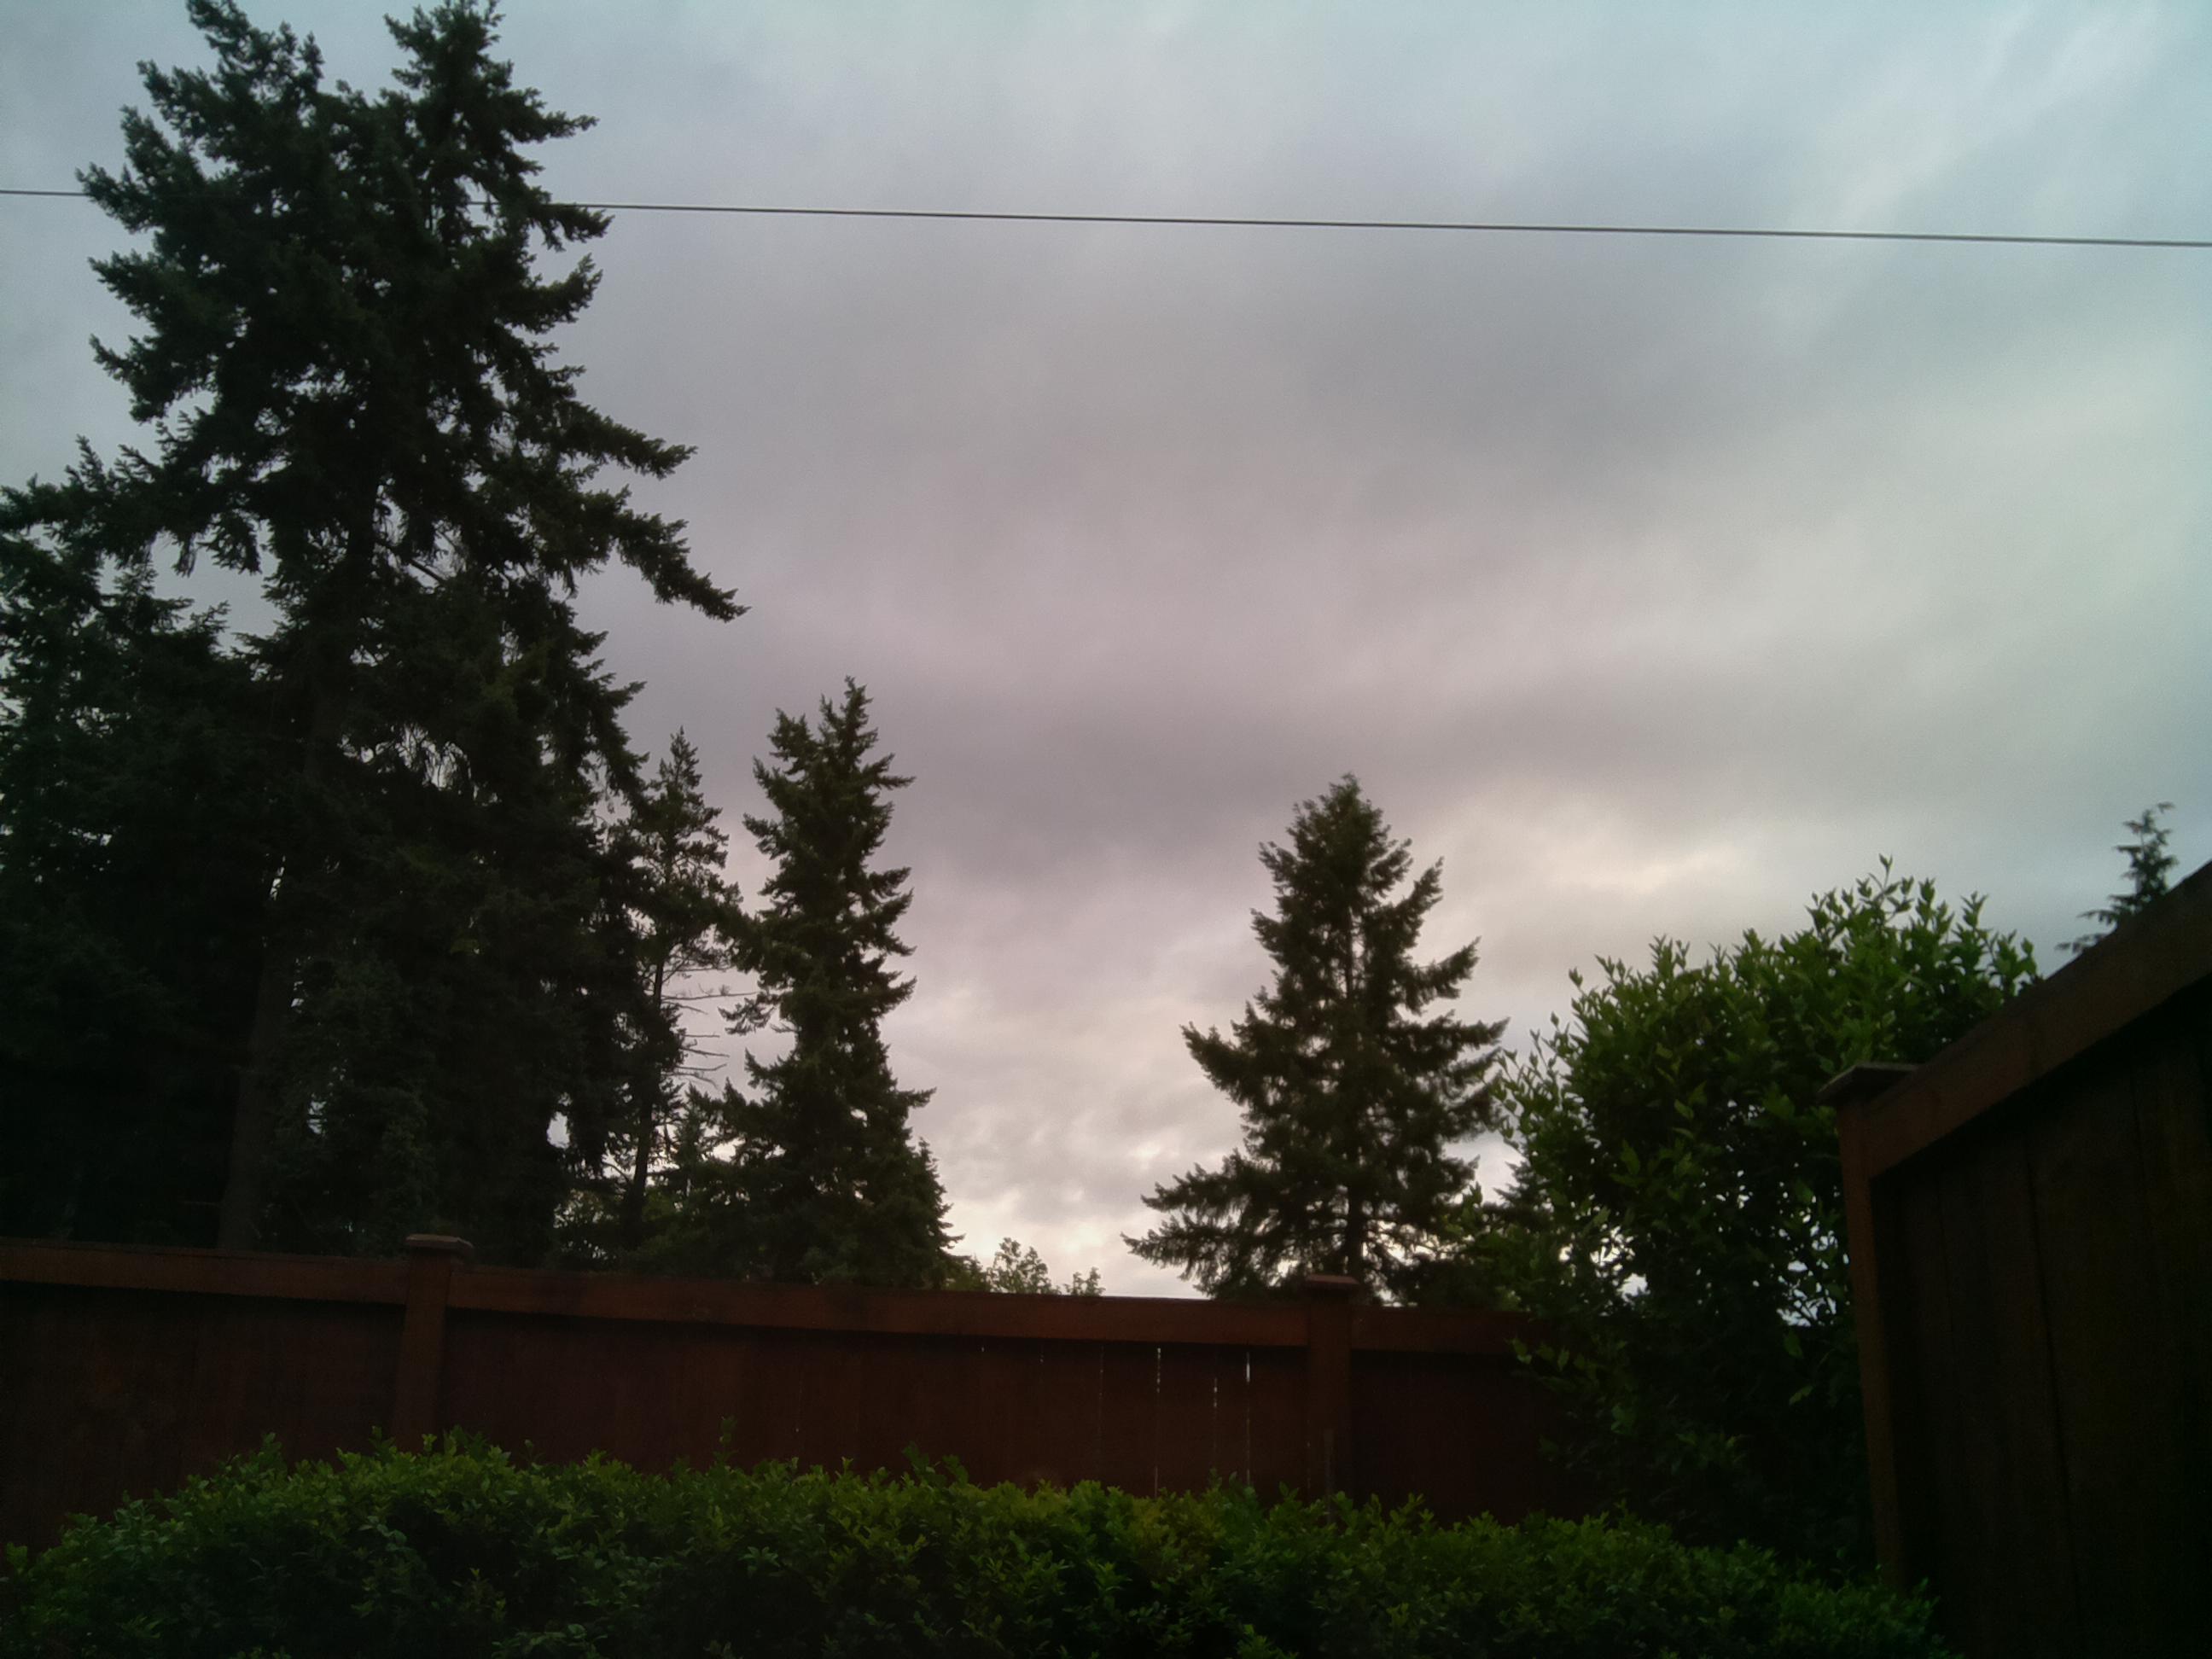
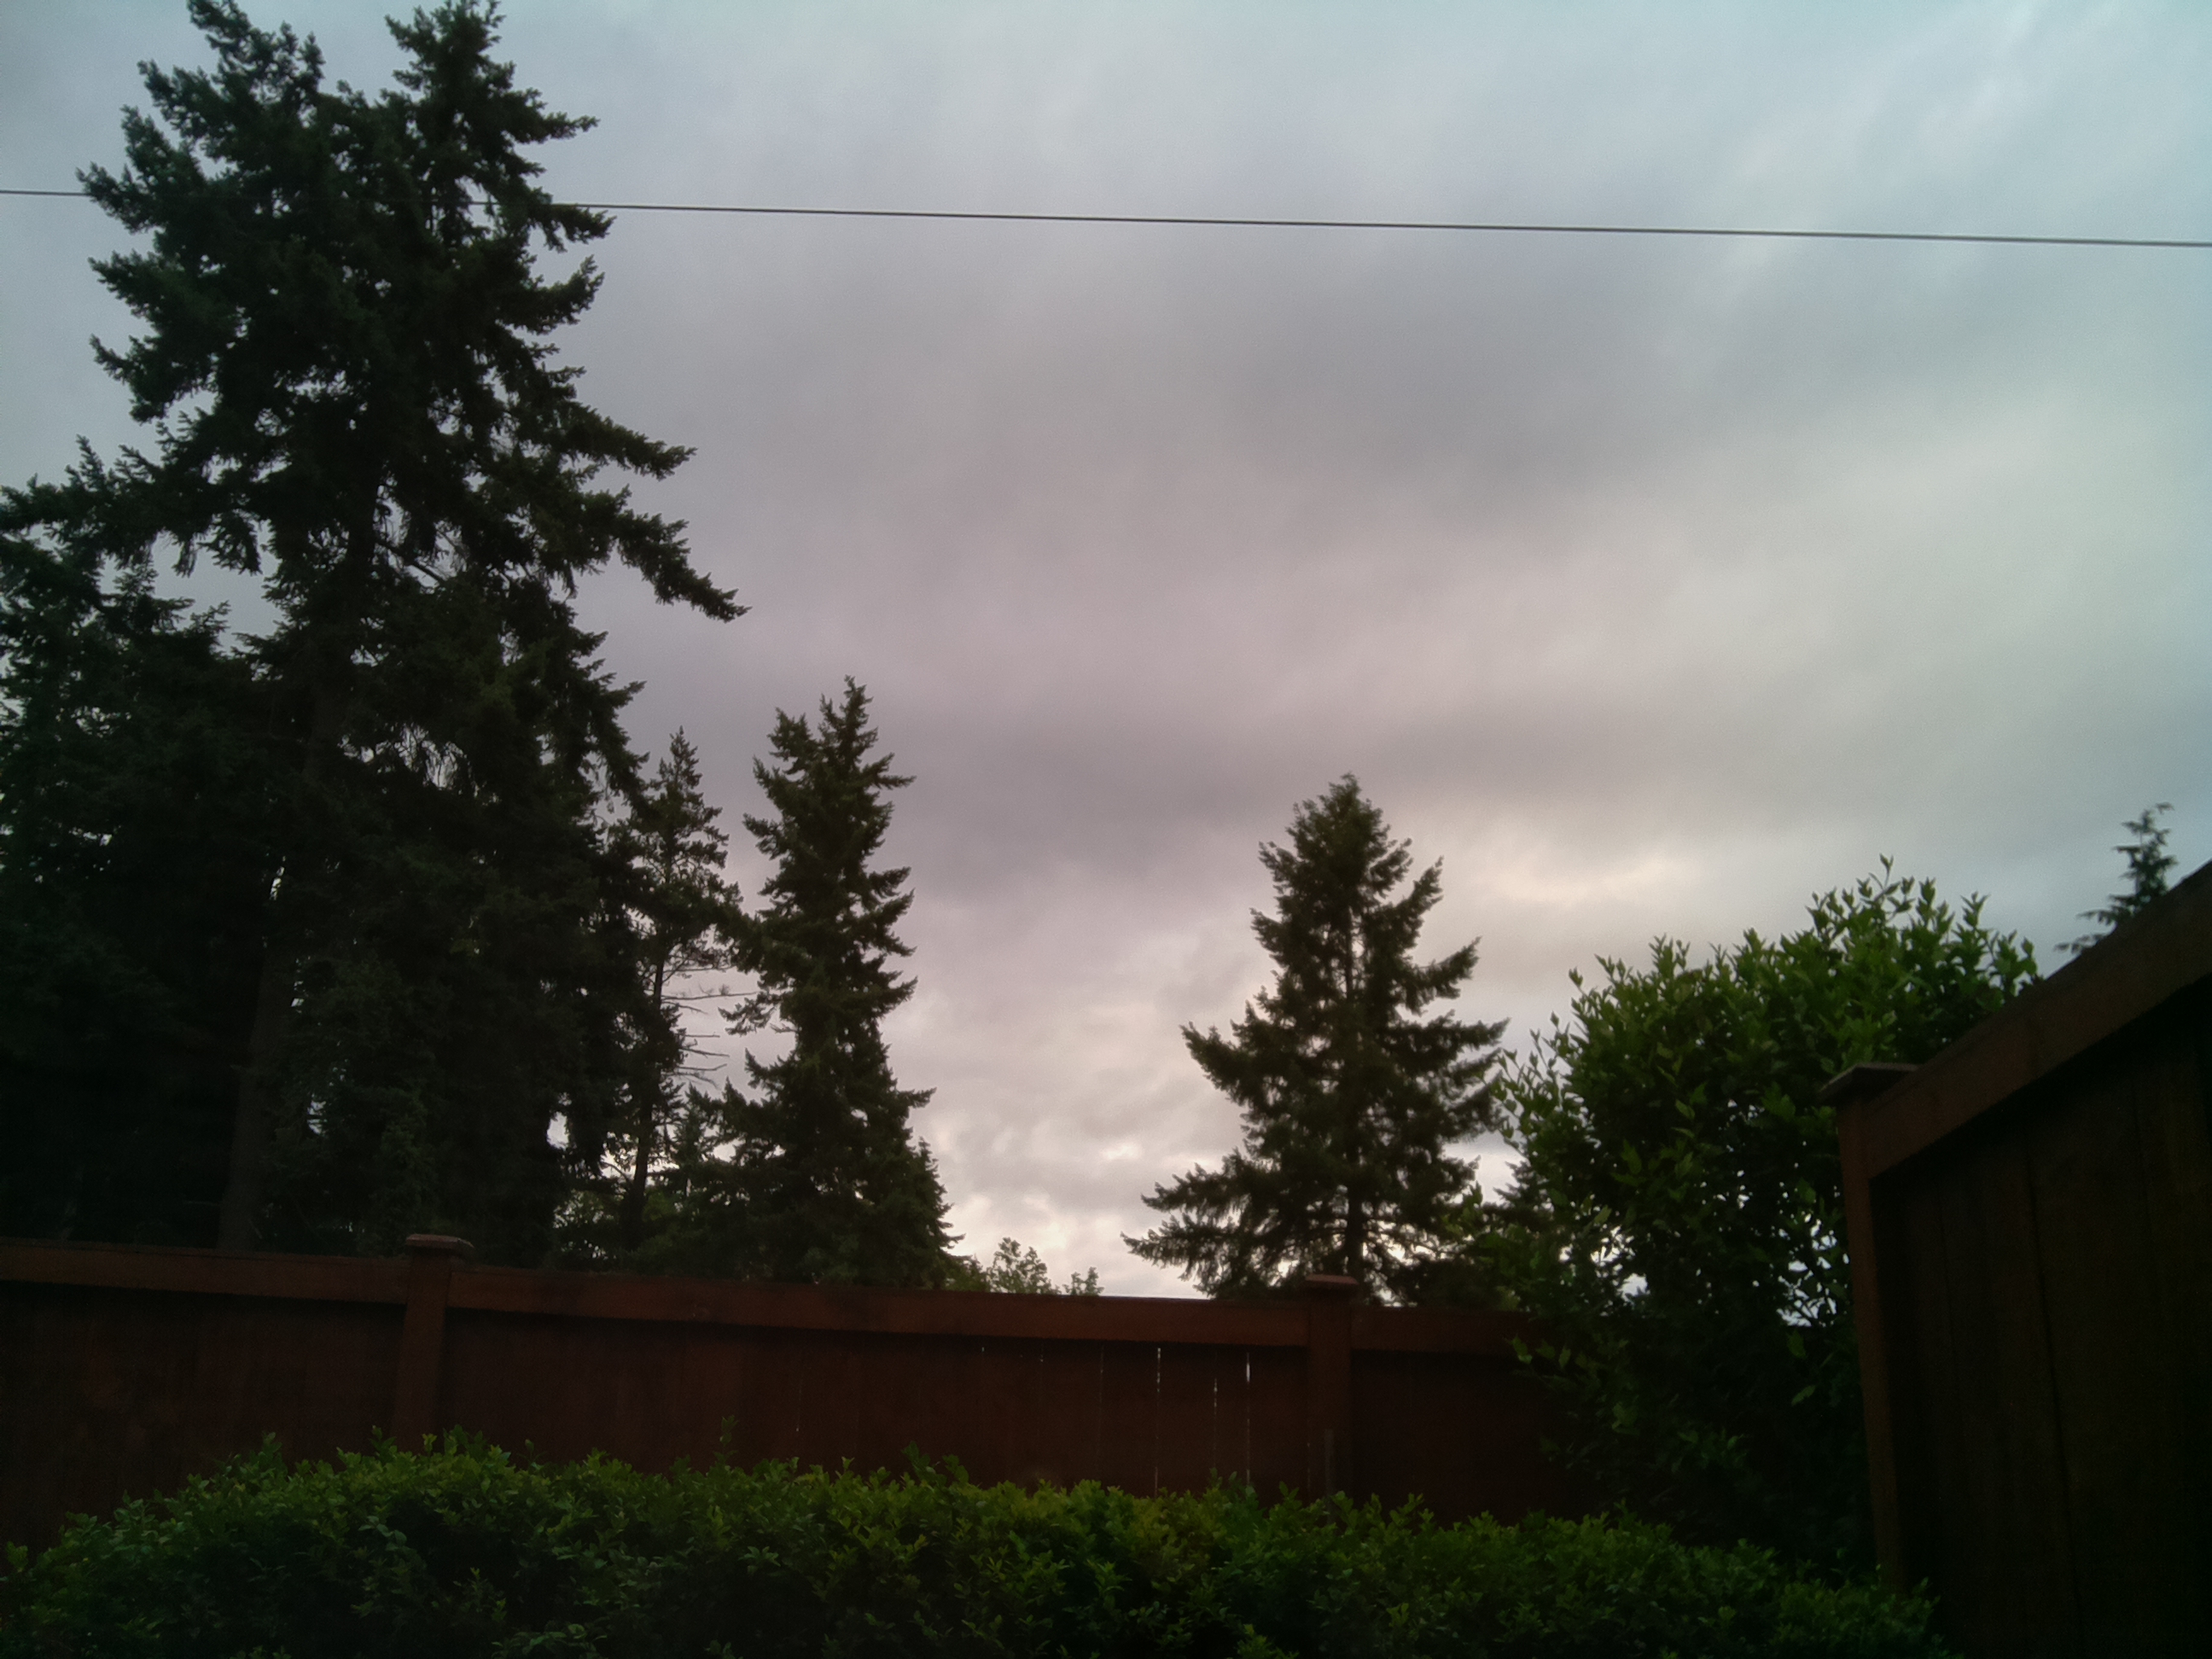
Now you can use a web browser to view the pictures, by going to http://ip-of-your-pi:8000. Here are mine for comparison:
Quality 1 is clearly terrible, 5 is maybe okay, but there's some clear
pixelation around rounded shapes (clouds in my example). 10 is not obviously
better than 100 unless you zoom in. Personally, I think -q 10 strikes the
best balance between size and quality. Feel free to run some more tests and
choose what works for you!
Cron, automating the picture taking
Now that we can take pictures, we need to set up some automation to take them automatically on an interval. This means we need to think about organizing the output too. One picture per minute is 1440 pictures per day, one per 5 minutes is 288 per day. Both are quickly unmanageable without a naming scheme.
I chose <full-path-to-base>/<date>/<unix-epoch-time>.jpg. This looks like:
pi@pine /m/zfs> ls timelapse/
2019-06-16/  2019-06-17/  2019-06-18/  2019-06-19/  2019-06-20/  2019-06-21/  2019-06-22/

pi@pine /m/zfs> ls timelapse/2019-06-16/ | head
1560668401.jpg
1560668521.jpg
1560668641.jpg
1560668761.jpg
1560668881.jpg
1560669001.jpg
1560669121.jpg
1560669241.jpg
1560669361.jpg
1560669481.jpg
And here's a script that will take pictures in that format. You'll want to change
/mnt/zfs/timelapse to something appropriate for you setup. Possibly local storage
/home/pi, or a remote file share similar to my setup.
#!/bin/bash

# this is called by cron on a raspberry pi to populate images for a timelapse
#
# quality = 10 is good enough for concatenating into an mp4
#   5 has too many artifacts
#  20 doesn't show a noticable difference except when zoomed in

folder=/mnt/zfs/timelapse/"$( date +'%F' )"
mkdir -p "$folder"
output="$folder/$( date +'%s' ).jpg"

raspistill -q 10 -o "$output"
Every time this script is called, it'll take a new picture in the format
<full-path-to-base>/<date>/<unix-epoch-time>.jpg. Now, we can add a new line
to our user's cron entry with crontab -e. It might look something like
this, to run the script every 2 minutes. You need to provide the full path to
the script, where ever you saved in on your system.
# m h  dom mon dow   command

*/2 * * * * bash /mnt/zfs/take-a-picture.sh
With that, we're off! The raspberry pi will take a picture at the interval prescribed forever (well until you change it, or turn off the device).
Making a video
Now that we have some pictures, let's make a video! ffmpeg is the tool to
use. The basic command is this:
ffmpeg -y -framerate 40 -pattern_type glob -i "$input" "$output"
Framerate determines how many pictures will be 'consumed' for a single second
of video. The higher this is, the smoother and shorter the video. The lower,
the more distinct each frame becomes and the longer the video. Since we're
dealing with hundreds or thousands of input images, -pattern_type glob is the
way to go. That lets us provide all the pictures in order with
-i /mnt/zfs/timelapse/<day>/*.jpg. The output can be anywhere you like with
an appropriate extension. ffmpeg supports many different output formats, and
looks to the extension to determine what you want.
And with that you have a video!
Night vs Day
If you have cron taking a picture every minute, every other minute, etc you
may notice that you end up with a lot of pictures of darkness from each night.
These aren't interesting and add a span of nothing at the beginning and end of
each of our videos. How can we get rid of these?
If you look closely at the sizes of the output images over the course of a day, you'll see a pattern. This is more apparent with a quick graph.
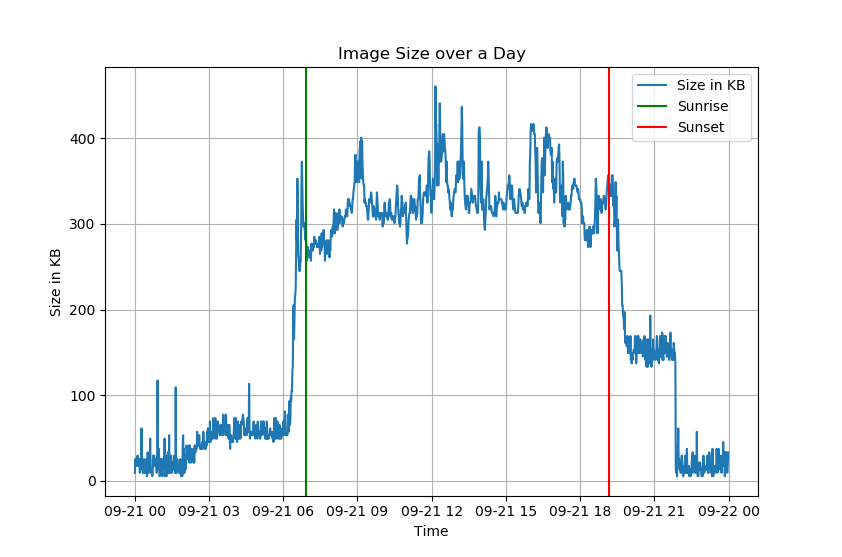
We can easily detect pre-sunrise and post-sunset images by size. I chose 40KB as the cutoff based on the images my setup was producing. This stripped out complete night pictures, without losing sunrises and sunsets. Another value may be more appropriate for your area.
We can write another script to organize each day's images into day and night,
with some buffer for error, and then only provide the day pictures to ffmpeg
to create the video with. The following script gives all the images a
-day.jpg or -night.jpg suffix.
#!/bin/bash

# sort images into day and night by looking at the file size. night time images
# are significantly smaller than day time images (since there's less
# information to encode)
#
# assumes
#
# /mnt/zfs/pi/timelapse
#   <date>
#     <image>.jpg
#     ...
#   ...

cd /mnt/zfs/pi/timelapse || exit 1
cutoff_in_kb=40

for directory in *; do

    # unix epochs are 10 digits (for the next 260 years at least)
    # only consider those
    for file in "$directory"/??????????.jpg; do

        # check if we actually matched anything
        [[ "$file" =~ \? ]] && continue

        size="$( du "$file" | awk '{print $1}' )"
        base="${file//.jpg/}"

        if (( size > cutoff_in_kb )); then
            mv "$file" "$base-day.jpg"
        else
            mv "$file" "$base-night.jpg"
        fi
    done

done
After this, we can run ffmpeg with
-pattern_type glob -i "$directory/*-day.jpg".
Done! A little more automation with cron, and you can have this done
automatically by your Raspberry Pi. I have my Pi saving the images to network
attached storage, where another computer picks them up for post processing.
This ensures that creating videos doesn't interrupt taking more images, and
that the Raspberry Pi doesn't run out of storage if I leave it alone for too
long.
You can find the full working scripts I use here:
Summary
We walked through some scripts and utilities (raspistill, cron, ffmpeg)
that let us automatically create a timelapse video once per day. The result is
a .mp4 playable in the browser, with extra night frames stripped out.
Enjoy your timelapse videos!
